Annie CPR
- Designing two digital interfaces for CPR classes for both instructors and children to support the teaching and quality outcomes
- Children from the age of nine are capable of saving lives, but often do not learn CPR properly
- Children may have difficulty concentrating and learning effectively
- Instructors find it difficult to keep track of several learners at the same time and to monitor the different techniques well and effectively
- 4 months
- Group project with 2 fellow students from the Bachelor university course 'Design of Human Machine Interfaces'
- User Research
- Wireframing (Adobe XD)
- Screendesign (Illustrator, Adobe XD)
- Interactions (Adobe XD)
- Animations (After Effects)
- Filming & Cutting (Premiere Pro)
This project was part of the module 'Design of Human Machine Interfaces' from my bachelor study's third semester.
It was a collaboration with two universities: Queensland University of Technology in Brisbane (AUS), which handled the product design of the mannequin, and York University in Toronto (CA), which handled the interaction design of the mannequin.
I teamed up with two other fellow students to tackle the challenge of designing suitable interfaces for both target groups: instructors as trainers, nurses or doctors, as well as 10 to 13 year old children.
In the discover phase, my goal was to open up the topic with research and knowledge gathering through the applied methods of literature research, expert interviews, and user interviews.
Information Gathering
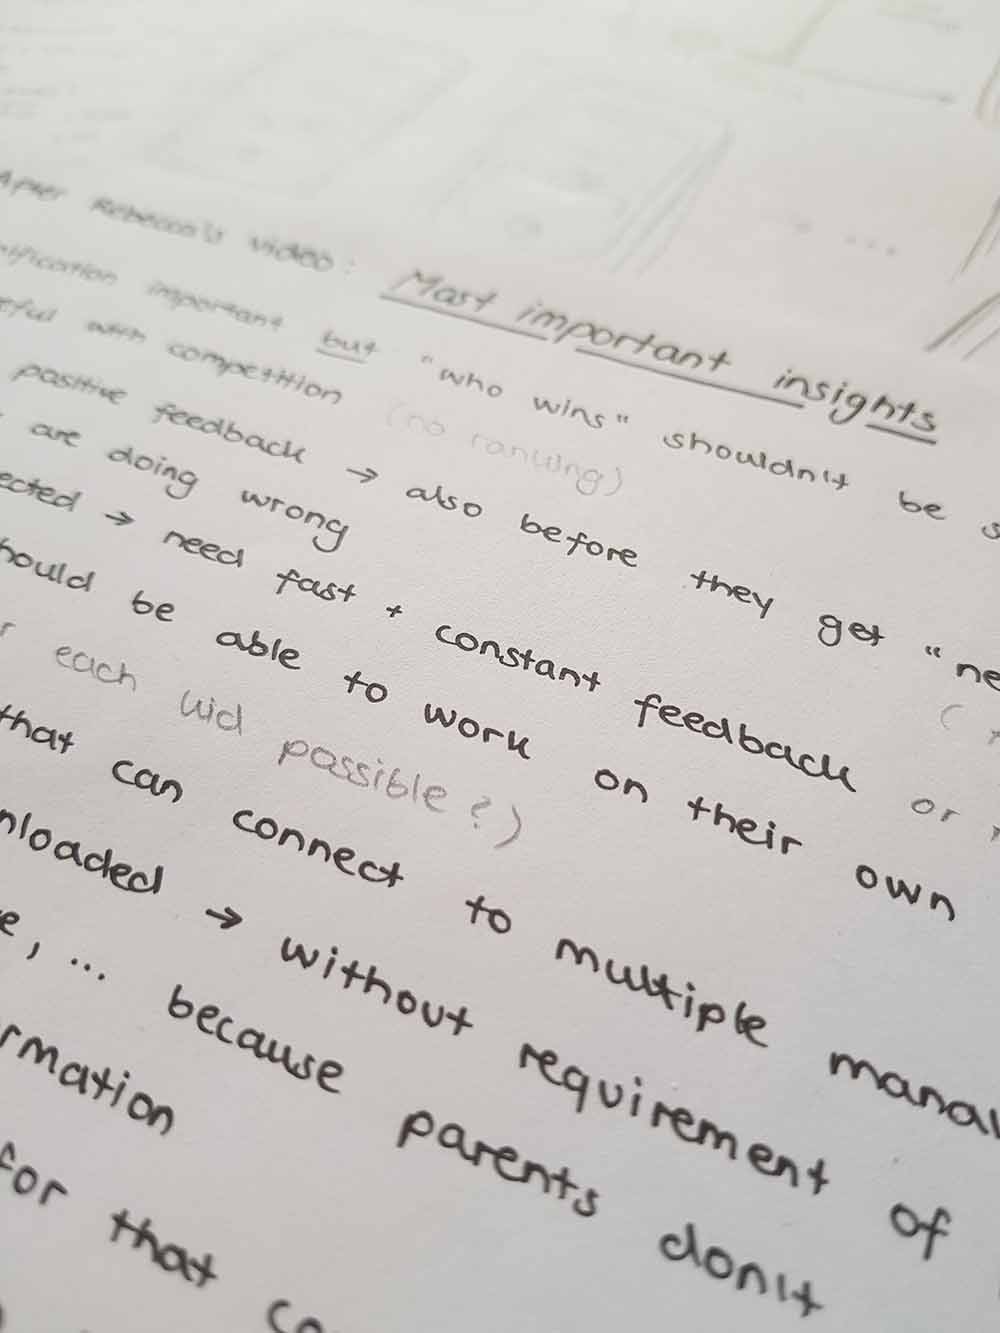
Firstly, we researched about the content of CPR classes and which different techniques need to get conveyed. Also, it was important to understand the special needs of children. Here, a zoom meeting and talk with a real CPR instructor helped a lot.
Important takeaways for the children:
- Gamification is important but one should be careful with competition
- Include positive feedback, especially before giving negative one
- Fast and constant feedback
- Each child should be able to work independently
- Constant visuals and/or sound would be distracting
Important techniques being conveyed and monitored by the instructors:
Compression
- Pressure Point
- Depth
- Frequency
Airway
- Head Position
- Nose Pinching
- Ventilation
- Time Frame
Combination
- Compression and airway combined to perform the whole CPR process
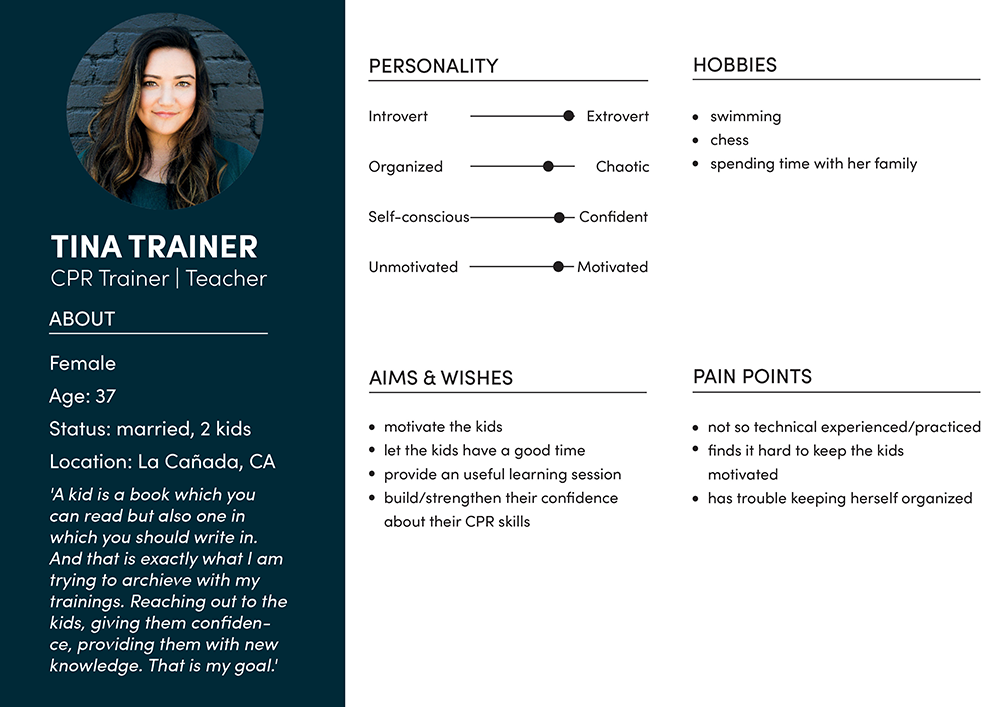
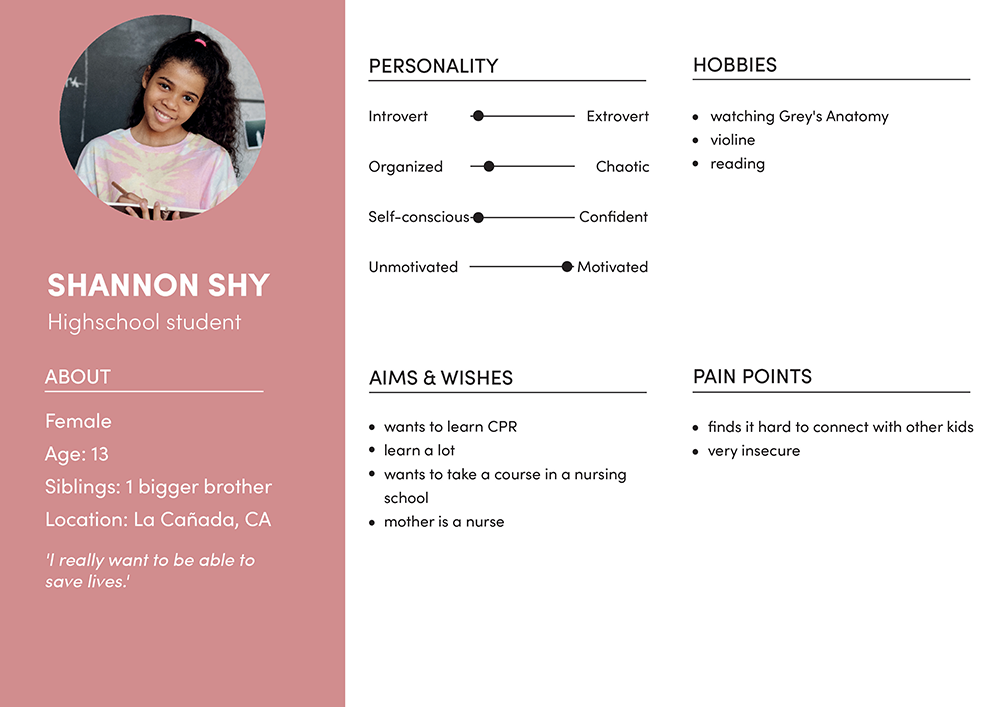
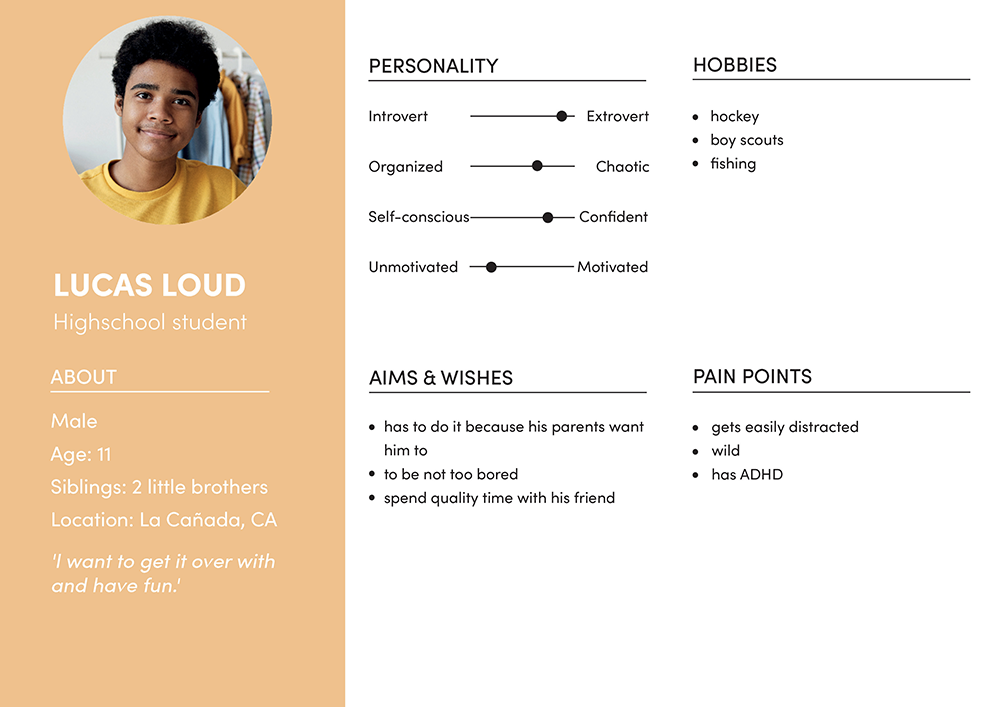
Personas
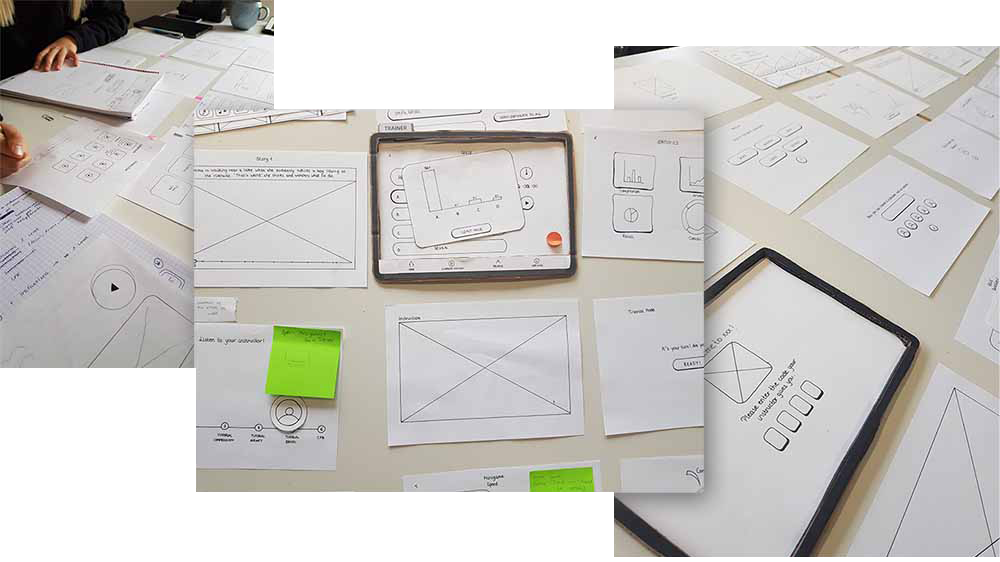
Paper Prototyping
For getting our first ideas on paper of how we thought the interfaces should work like and what sort of information should be displayed on which screen we used the paper prototyping technique.
We also built two iPad frames to lay over the paper prototypes in order to be able to show which screen is currently active when testing the user flow.
The following concepts were defined regarding the instructor's interface:
- Navigation bar with Home, Current Session, Profile and Settings
- Dashboard containing the next class, upcoming classes and recent classes
- Three stages of teaching: Instruction, Tutorials and Full CPR
- Statistics overview on each exercise and student
The three stages of teaching should contain the following
Instruction
Video with explanation from the instructor
Tutorials
Exercises about the above mentioned important techniques with viusal feedback for the instructor
Full CPR
Video scenarios including quiz questions where every student needs to perform the whole CPR process, again with visual feedback for the instructor
See here a small excerpt from our instructor's paper prototype during the Full CPR mode:
The following concepts were defined regarding the children's interface:
- Avatars for personalization
- Level bar for progress
- Animation based
- While it's other childrens' turn: Choose between rewatching tutorial videos, playing mini games or solving quizzes regarding CPR
- In tutorial mode, receiving feedback through a vibration bracelet
Wireframing & Interaction
Once the paper prototypes were complete, we moved on to converting the screens into Adobe XD wireframes. Here we wanted to test the content and functionality in a more realistic way, without adding colour and larger design elements. To understand the user flow, I made the wireframes interactive.
Here is an example of the instructor's wireframes:
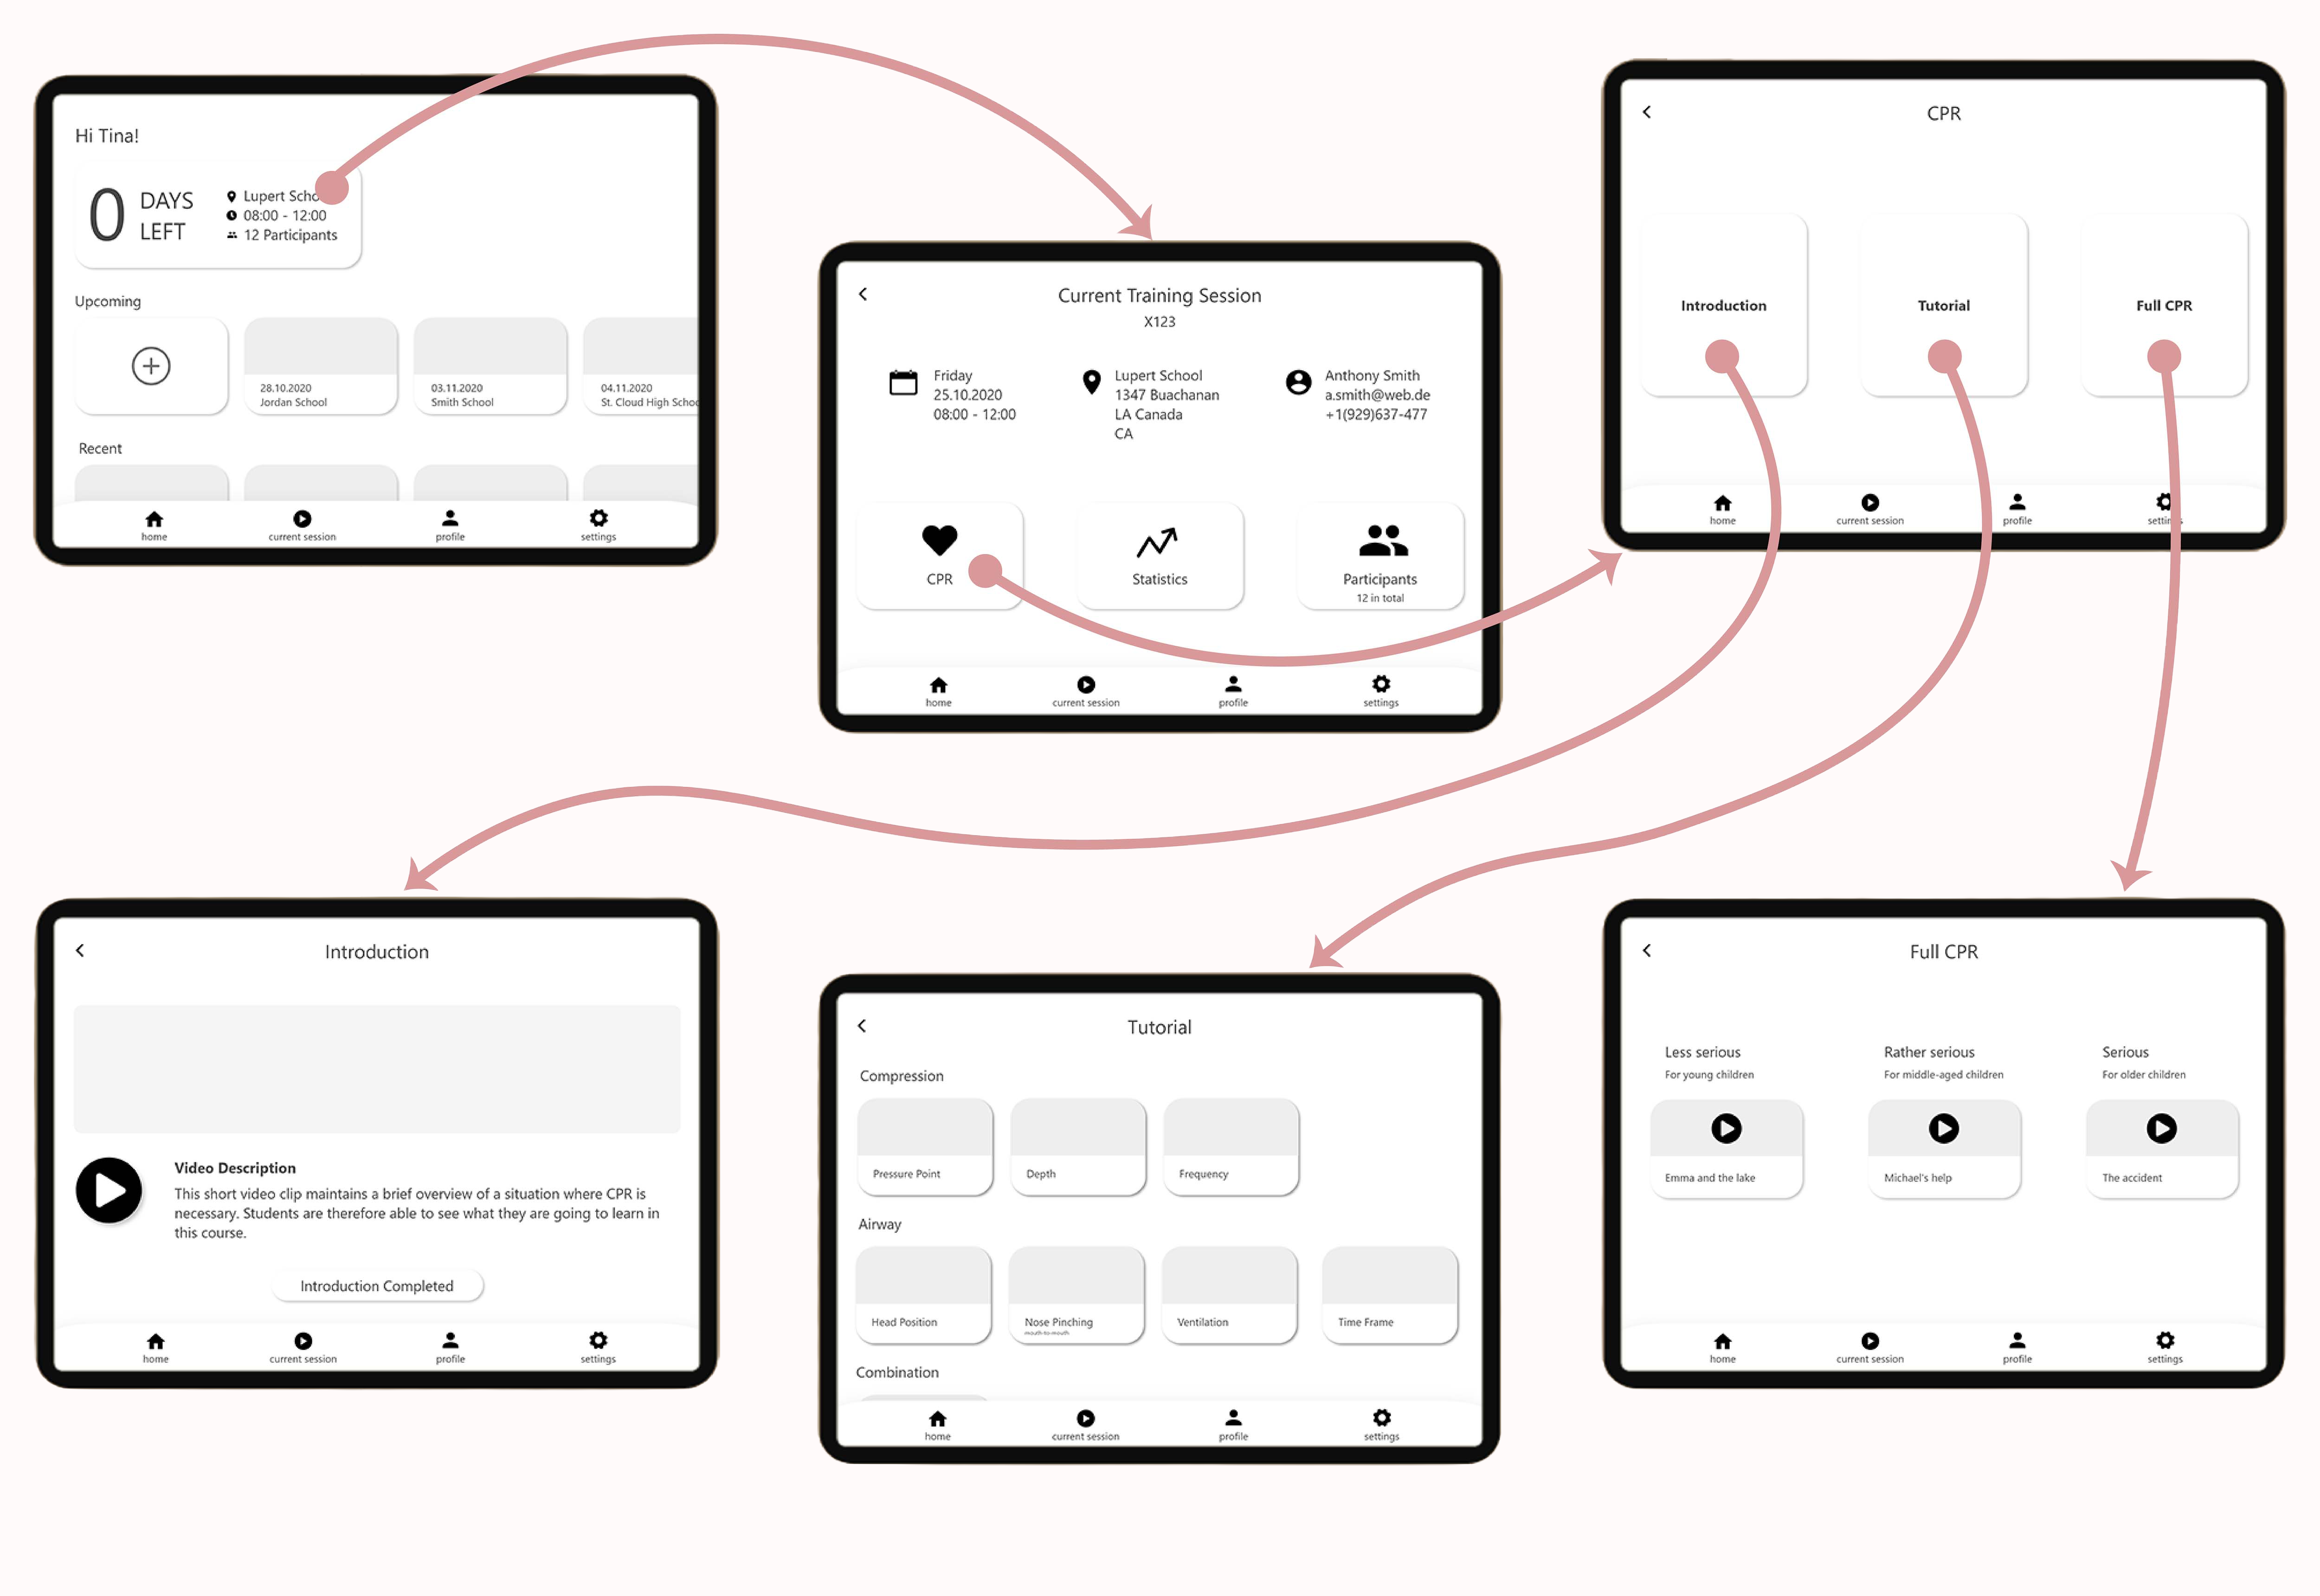 Click image to enlarge
Moodboards
In order to select a suitable colour scheme, we created two mood boards, one for each target group. The boards are three pages each. On the first, we collected six words that we wanted the target group to feel when using our app. The second one contains the colours with inspirations we want to use and the third one contains examples of what the UI could look like.
Children's moodboard
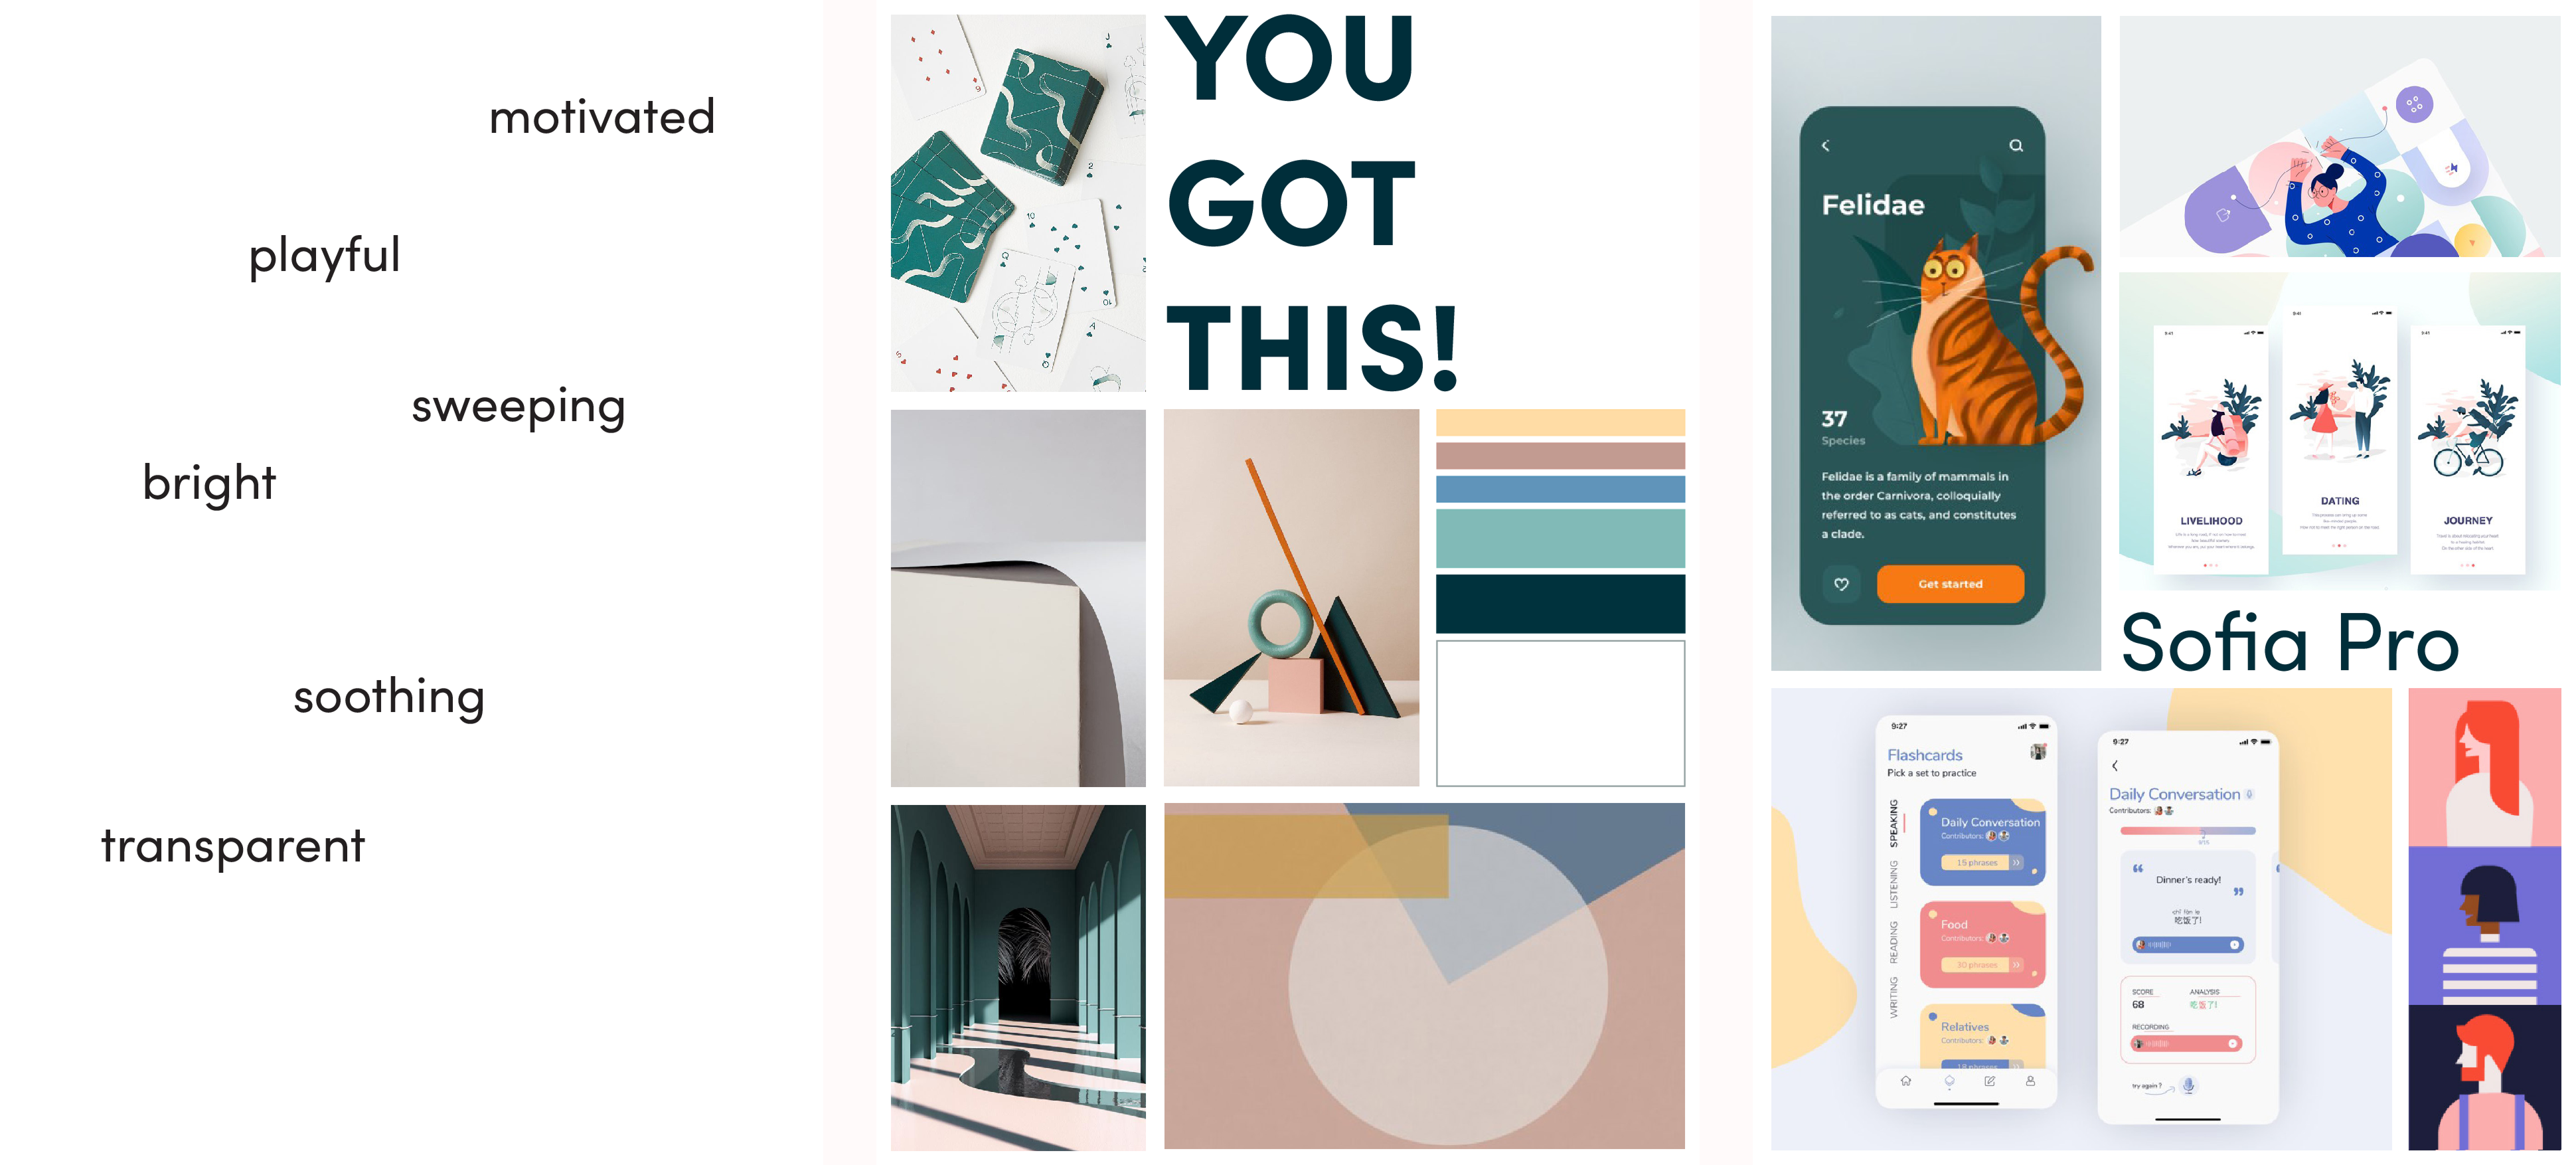 Click image to enlarge
Instructor's moodboard
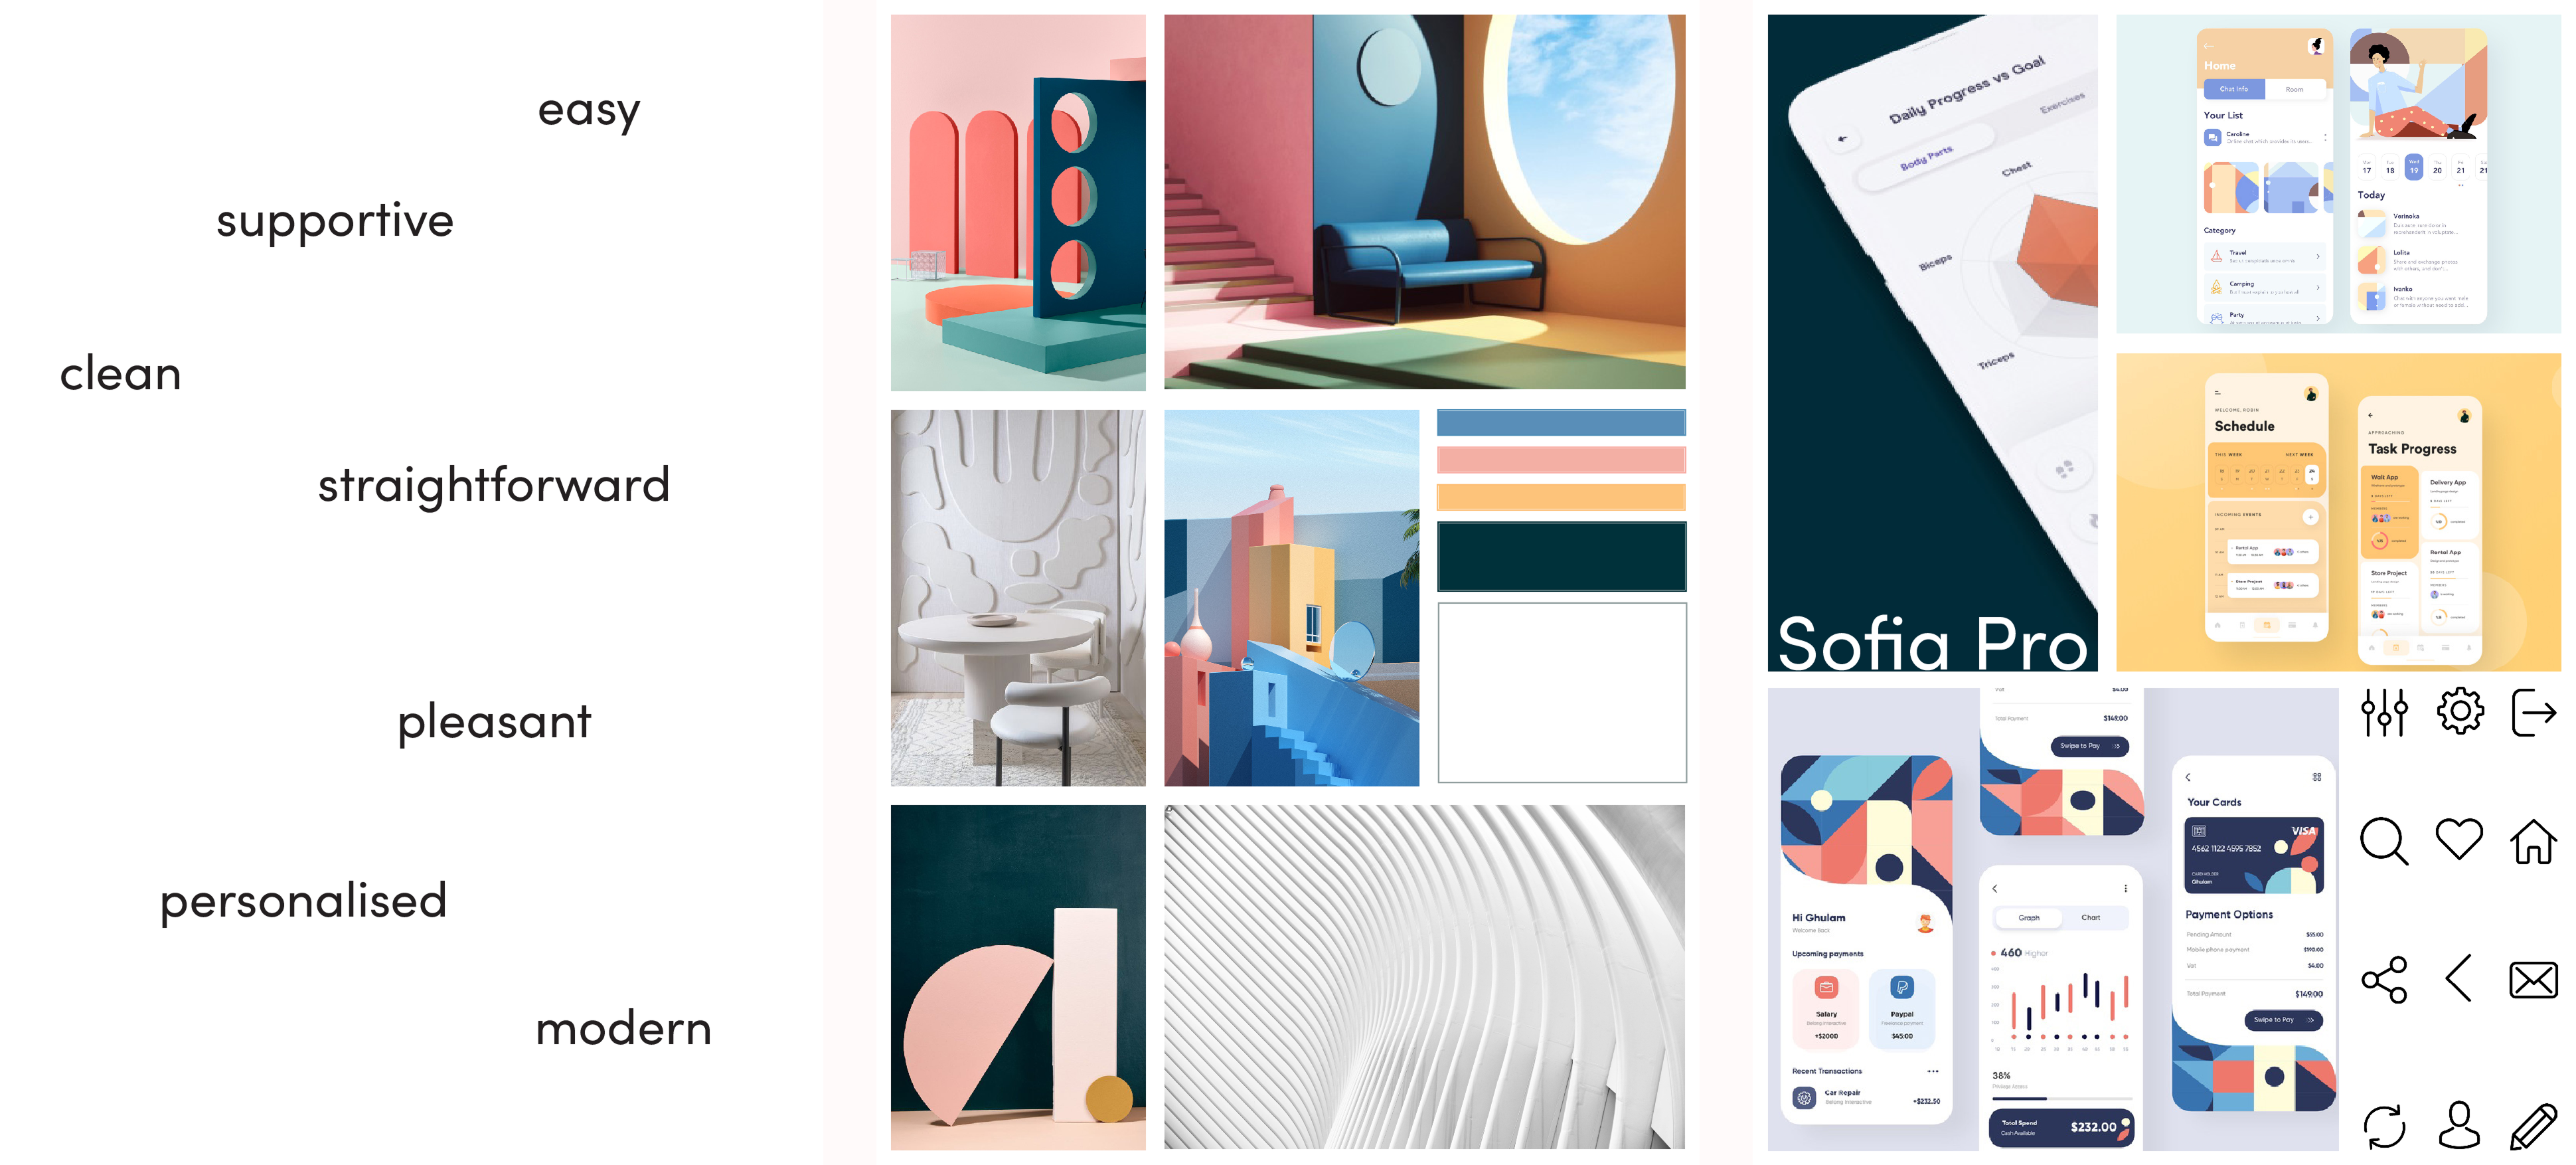 Click image to enlarge
Screendesign
The final step was to add colour and design elements to the screens. Using the moodboards, we were able to create a dominant white space, but also a colourful design.
See for yourself and click through the prototypes!
P.S.: When testing the children's prototype, the provided code is xukb :)
Instructor's UI

Children's UI

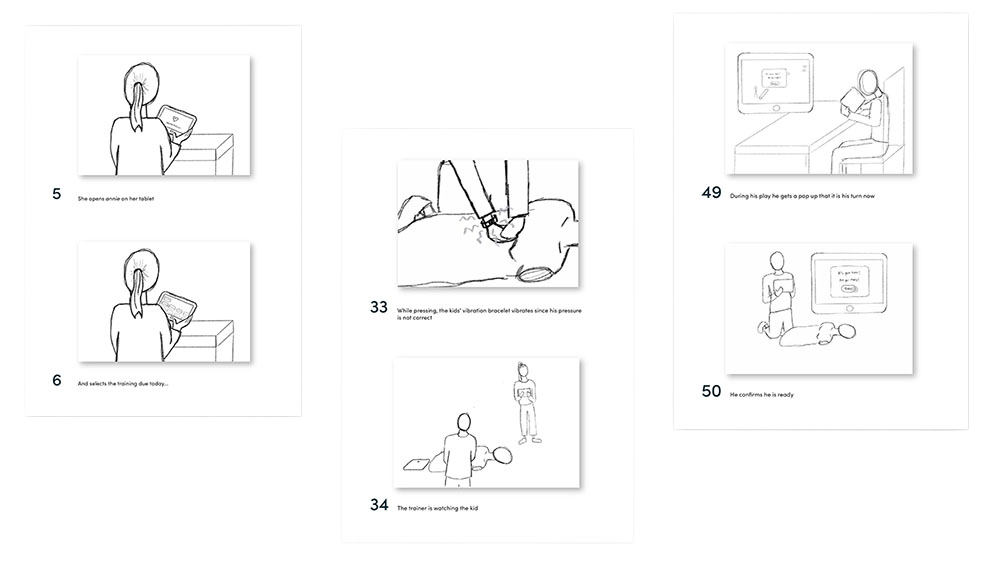
Storyboard
In order to present our digital solution regarding CPR classes for children, we had to film and cut a movie. Since we were limited to two minutes, we had to think before shooting about what kind of scenes we wanted to shoot and what screens need to be shown. Therefore, we created a storyboard with each scene being roughly sketched down and explained with one or two sentences.
Filming
Due to the Covid regulations in Germany at this time, we were limited to actors from one household. However, we were able to find siblings who were perfect to play both the instructor and a child in a CPR class. Thanks to the BRK Kreisverband Ingolstadt we had access to a real CPR classroom and a CPR mannequin. Filming took one afternoon.
Animations
All the animations you see in the film were created by me using Adobe After Effects. For example, we could add different text overlays or visualise the vibration of the bracelet.
Cutting & Putting Together
Finally, I had to cut and assemble all the different scenes, animations and chosen music and sound using Adobe Premiere. Please enjoy our final movie for Annie CPR:
Next project:
Skydda